# One Touch
Product Profile
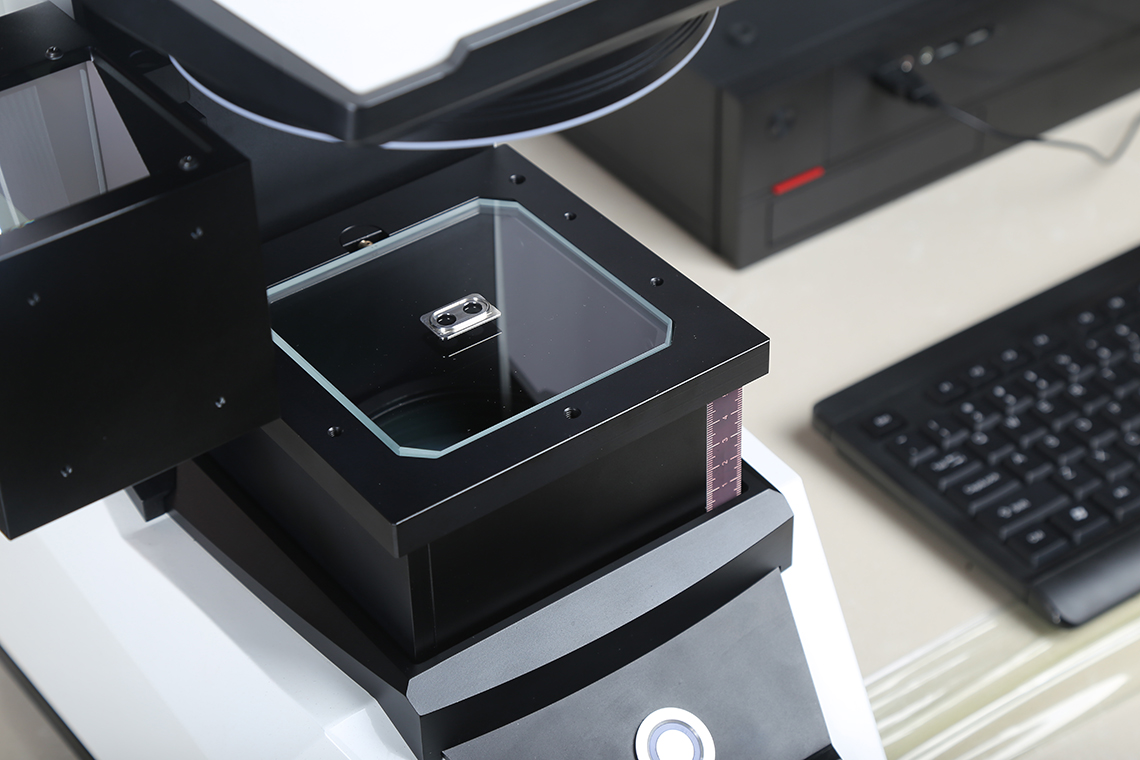
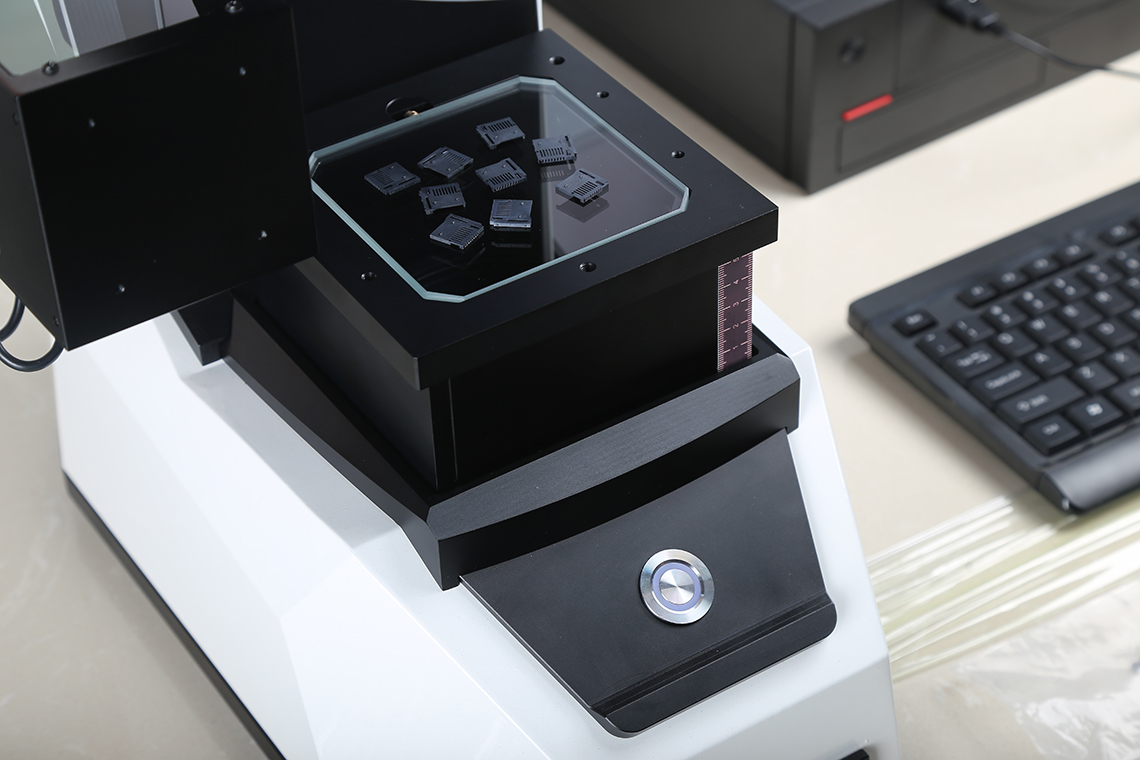
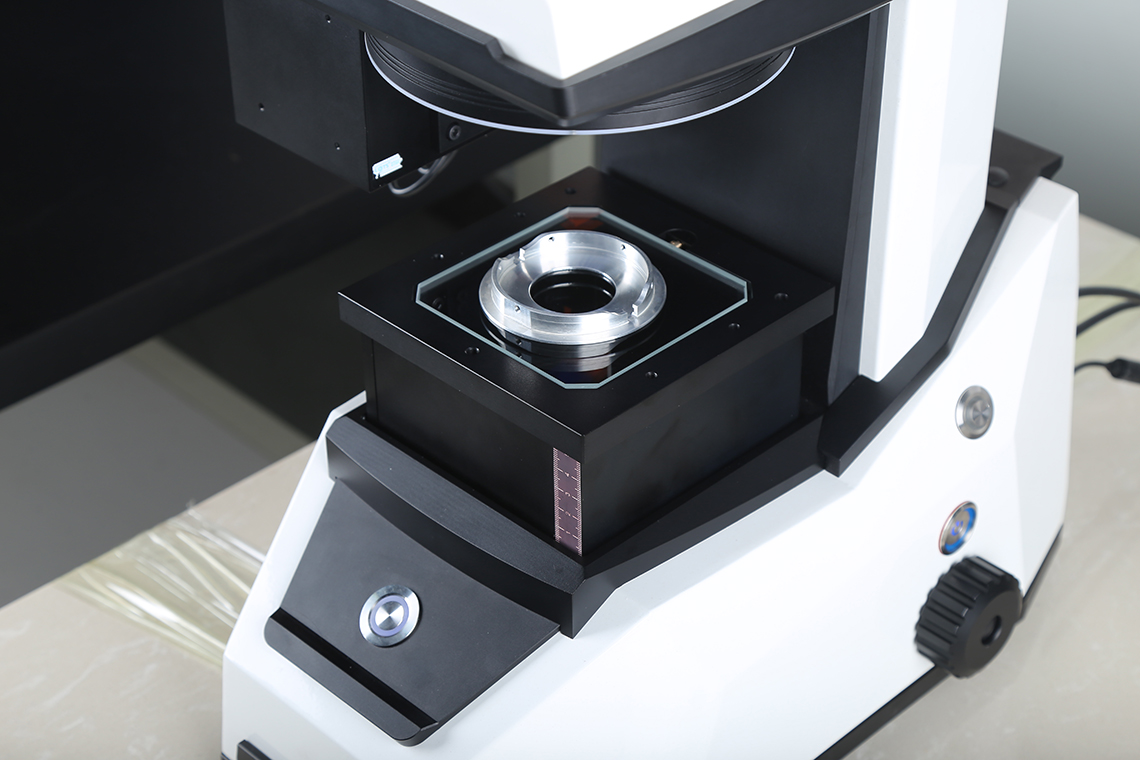
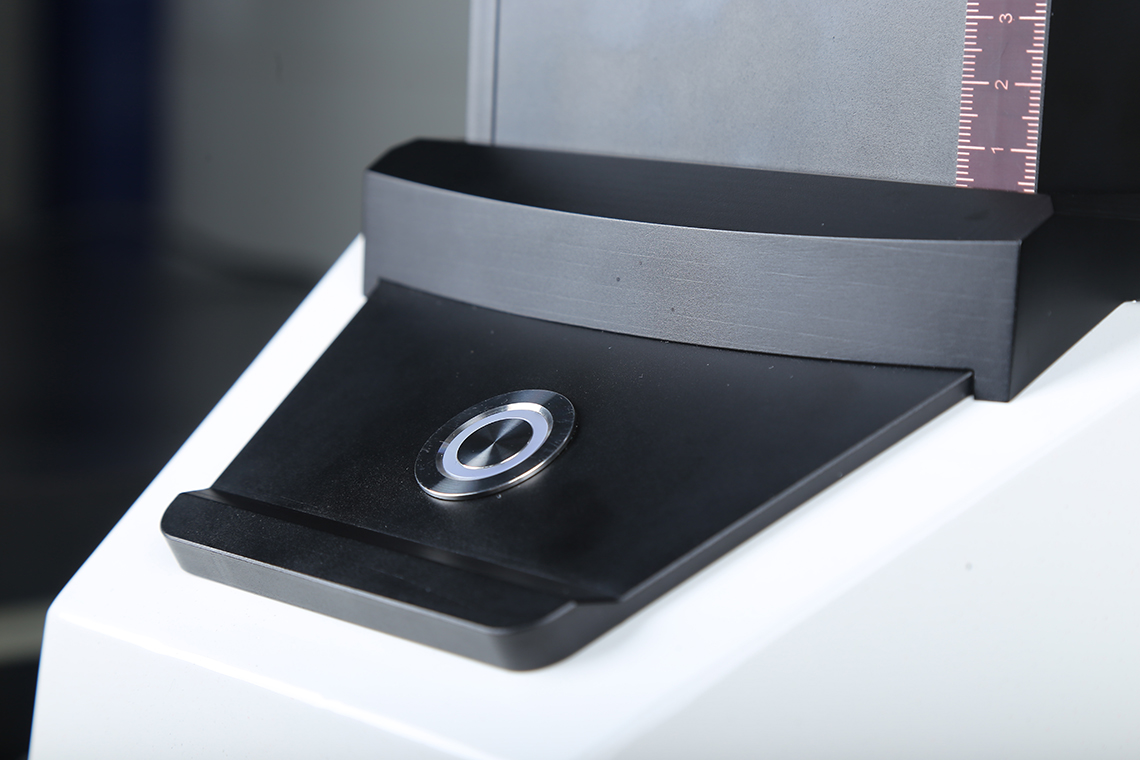
OMQ100 series one-button measuring instrument with double telecentric high-resolution optical lens, combined with high-precision image analysis algorithm, and integrated into the one-button flash measurement principle. The instrument can automatically locate the measuring object, match the template, measure evaluation and report generation according to the shape of the workpiece. It only needs to touch the start key to realize the one-button fast and accurate measurement.
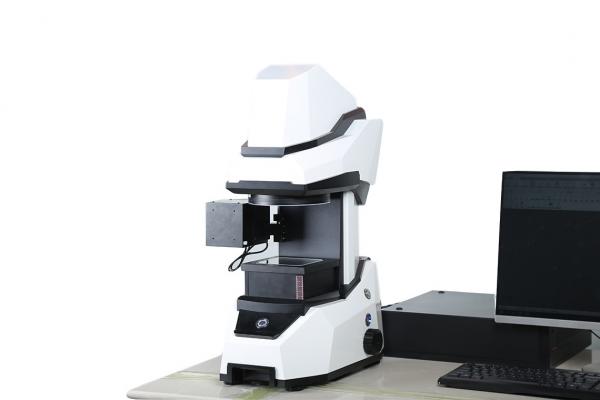
Product Advantages
Traditional measuring instruments, such as projectors, image measuring instruments, tool microscopes, profilers, vernier calipers, micrometers, etc., are facing many problems in measurement, such as the time-consuming positioning of measuring objects, origin positioning, long batch operation time, different surveyors lead to different measurement results, complicated data statistics management, etc.
OMQ100 series of one-button measuring instruments will solve the difficult problems of traditional measuring instruments in detection. Their advantages are as follows:
- Automatic Matching
The same category of products are programmed once, stored permanently, and automatically matched when measuring. - Automatic measurement
It can cooperate with the manipulator arm to realize automatic measurement. - Simple calibration
Only one functional calibration key is needed to ensure the measurement accuracy by multi-angle, omnidirectional and full-field calibration. - Easy to use
Humanized and intelligent software design, without too much user operation, easy to learn, easy to use, easy to use. - Measuring function
Two-dimensional measurement of point, line, circle, arc, angle, distance between point and line, distance between line and circle, etc. - Data auto-saving
The results of measurement are automatically saved to the computer, including the date of measurement, batch number of products and other information. - Contour Scanning
Scan contour quickly and export DXF file.
Technical Specifications
| Model | OMQ100M | OMQ100C | OMQ100D |
|---|---|---|---|
| Z-axis Moving Range(mm) | 45 | 60 | |
| Range(mm) | 83×55 | 83×63 | 83×63/40×30 |
| External Dimensions(mm) | 500×380×750 | ||
| Weight(kg) | 28 | 30 | |
| Bearing(kg) | 3 | ||
| Image Sensor | 6 megapixel industrial camera | 12 megapixel industrial camera | 0.088X:12 megapixel industrial camera 0.176X:12 megapixel industrial camera |
| Camera Lens | Double telecentric optical lens | Double-rate double telecentric optical lens | |
| Magnification | 0.088X | 0.088X+0.176X | |
| Accuracy(μm) | ±(3+L/50) | ±(2.5+L/50) | 0.088X:±(2.5+L/50) 0.176X:±(1.5+L/50) |
| Minimum Display Unit(mm) | 0.0001 | ||
| Z-axis Working Distance(mm) | 120 | ||
| light Source | 200-level programmable light source. 201 - Contour light: telecentric parallel light source. Surface light: ring light source (optional, external coaxial light) |
||
| Image Processing | IVT-VISION-OneKey | ||
| Software | Temperature:22℃±2℃ Humidity:30~80% | ||
| Work Environment | Vibration:<0.002mm/s,<15Hz | ||
| Power Supply | 220V/50Hz | ||
Selection details:
- OMQ100M Optional matching:
12 million industrial cameras (range: 83 x 63),20 million industrial cameras (range: 100)
OMQ100C Optional matching: 20 million industrial cameras (range: 100)
OMQ100D-0.088X Optional matching: 20 million industrial cameras (range: 100) - Selection of 20 million industrial cameras (range: 100): (+3+L/50)
- Standard block is used as the product under test.
